Cheering fans, sweaty players, and shiny trophies. Sore muscles after a long practice, picking up your teammates when they fall down, and the thrill of victory after staring defeat in the face. The thud of leather as the receiver makes a winning catch. This is what football is all about.
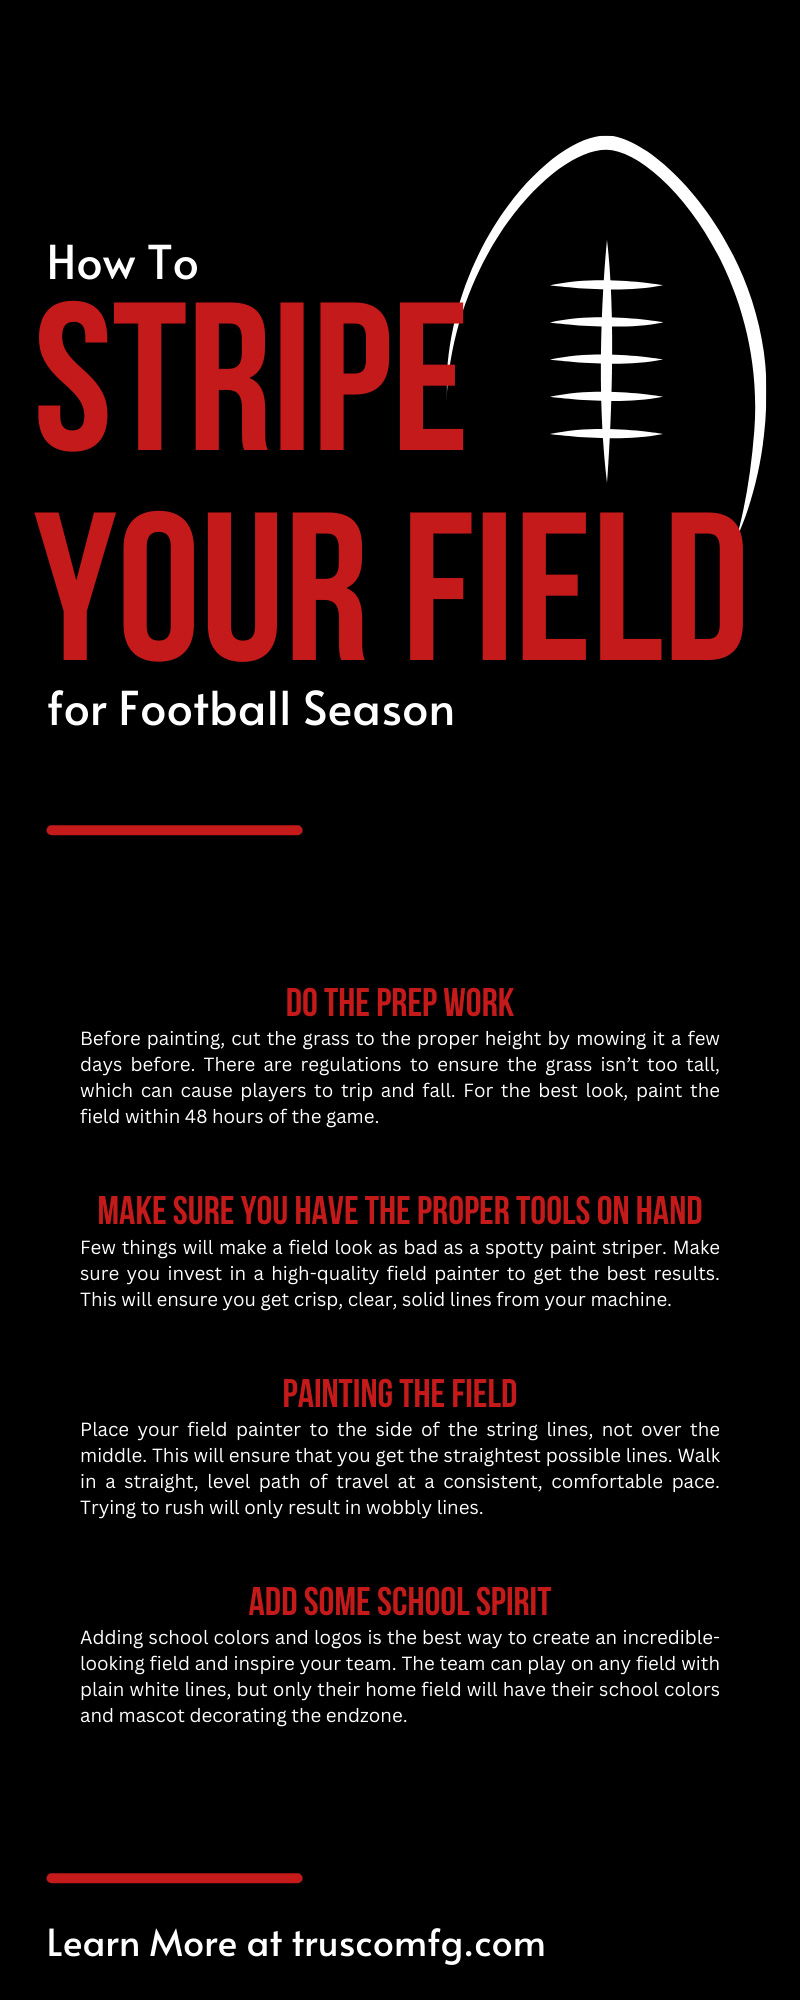
With football season just around the corner, it’s time to prepare your football field for a brand-new season. Your team’s football players have put countless hours into practicing and training for the season. It’s only right to give them the best possible field to play on all season long. Here’s how to stripe your field for football season.
Do the Prep Work
Hopefully, you’ve been maintaining your field all year long. Taking great care of your field by mowing, fertilizing, and watering properly is the best way to ensure you have a healthy, green field to work with when football season rolls around.
Before painting, cut the grass to the proper height by mowing it a few days before. There are regulations to ensure the grass isn’t too tall, which can cause players to trip and fall. For the best look, paint the field within 48 hours of the game.
Turn off the sprinkler systems and check the weather forecast. You want the grass to be dry when you apply the paint and while the paint is drying. A bit of water can ruin all your hard work, so make sure the grass is completely dry before starting.
Make Sure You Have the Proper Tools on Hand
Few things will make a field look as bad as a spotty paint striper. Make sure you invest in a high-quality field painter to get the best results. This will ensure you get crisp, clear, solid lines from your machine.
You’ll also need a steel tape measure to measure the space between the lines accurately. Placing benchmarks around the field will ensure you place your lines in the correct places. Templates, string lines, and stencils will help you get professional-looking results.
You’ll also need to decide which paint to use. You have a few options for natural grass fields. Be sure your paint is for natural grass, not turf.
Aerosols
Aerosol paints are more expensive and do not last as long. However, they’re also quick-drying and easy to apply.
Bulk Paints
Bulk paints cost less than aerosol paints. They also look fantastic when applied and stay looking good for a longer period of time. However, you’ll need to mix the paint yourself, and it is often more difficult to apply than aerosol paint. There are advantages and disadvantages to each option, so weigh your budget and your team’s needs to decide which you will use.
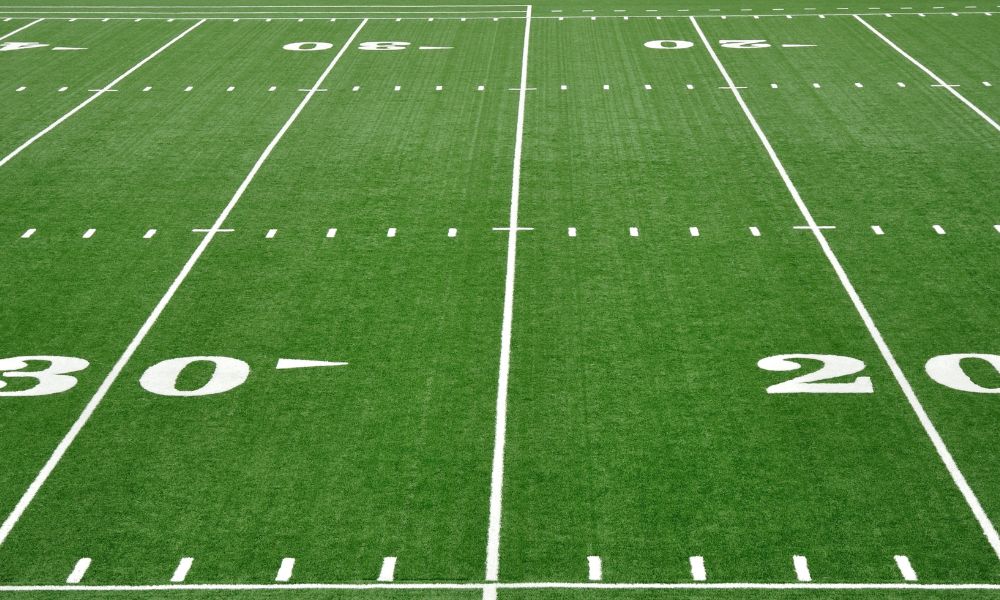
Painting the Field
Now you’re ready to paint your field! Keep in mind that you’ll want to use the least amount of paint possible while spraying. This will prevent overspray and puddling. You are painting the blades of grass, not the soil underneath.
Place your field painter to the side of the string lines, not over the middle. This will ensure that you get the straightest possible lines. Walk in a straight, level path of travel at a consistent, comfortable pace. Trying to rush will only result in wobbly lines.
If painting multiple colors, paint all of one color before changing to the next. This is the most efficient way to complete the project, as you’ll need to clean the machine each time you want to change colors. This can be time-consuming, so you’ll want to minimize the number of times you need to clean it.
Keep rags and a bucket of warm water nearby while painting. If you make any mistakes, these will make wiping the grass clean much easier.
It’s best to do this job with at least two other people. While you paint the lines with the field striper, the other two will hold the string lines in place to prevent them from moving or becoming crooked.
When painting numbers, use your stencil to get the best possible look. Have a second individual hold a plastic or cardboard shield to protect the surrounding grass. This will prevent any overspray that could damage your hard work.
Add Some School Spirit
Adding school colors and logos is the best way to create an incredible-looking field and inspire your team. The team can play on any field with plain white lines, but only their home field will have their school colors and mascot decorating the endzone.
When painting logos, go from the inside out to get the best look. Apply large amounts of color in a sweeping motion to cover the ground as efficiently as possible. You’ll want to be sure to start and stop the spray gun every time you change direction. This will prevent paint buildup as you spray over the same area twice.
If there are any detailed areas or small logos you need to paint, use brushes, rollers, or a pump-up sprayer to apply the paint rather than the large field painter. This will make it much easier to create a crisp design. Using a large field painter risks overspraying and ruining your design.
Of course, you’ll need to thoroughly clean up at the end of each painting day. Be sure to clean out the brushes and machines properly so that they are not damaged by drying paint. Any open containers of paint should be closed tightly to be used the next day. Wipe down any reusable screens or stencils to prevent paint buildup.
Football season is one of the most exciting times in the school year. Few things bring the student body together like a great football game. Now you know just how to stripe your field like a professional for football season. When you see the smiling faces of the football players and the stands packed with students, you’ll know all of your effort and hard work to paint the football field was worth it.